AI painter in the house
The hot news in the data science and Machine Learning space stirred the entire global AI community.
“Stable Diffusion is now available as a Keras implementation, thanks to @divamgupta!” announced the famous François Chollet. I could not stop thinking about it, not even for a second.
Technology journalists wrote articles, and enthusiasts shared and reshared tweets and blog posts about it. And, AI-generated images flooded the Internet.
What is it? It’s a very effective Stable Diffusion algorithm implementation.
What it does is generate images based only on the text prompt provided by the user.
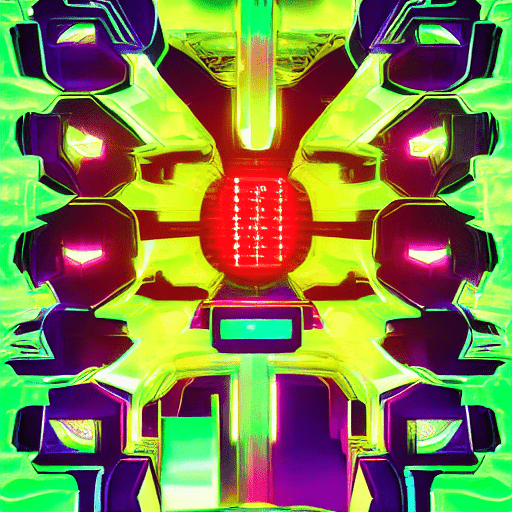
Image 1. An AI generated image from the prompt “Avenga Labs article cover cyberpunk style”
You can think of it as an AI painter who is told to paint something unique using English words. It is amazing that it can run locally on laptops and even mobile devices. This is how efficient the implementation is.
How it works internally is a very complex piece of advanced tech. This time I’m more focused on how well it performs, how to make it work on a local computer and what images it can generate.
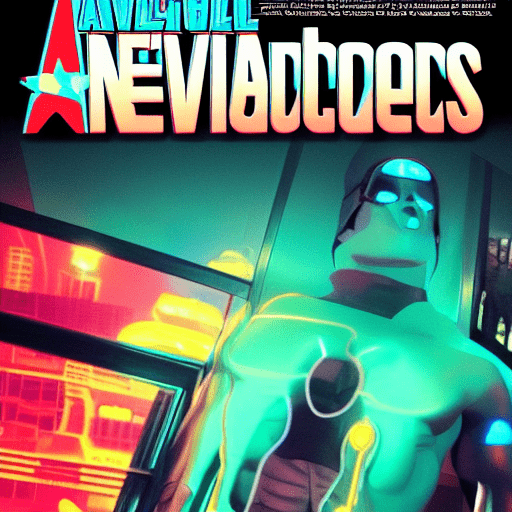
Image 2. An AI generated image from the prompt “Avenga Labs article cover cyberpunk style”
Avenga Labs could not wait and ignore this hype, as we did with GPT-3 in the past, so I decided to try it myself. I wanted to see how it works in practice and to pave the way in making it work first, and then share the results with you.
Let’s start with the installation adventures.
Git clone
The common first step is to download the repository from GitHub.
git clone https://github.com/divamgupta/stable-diffusion-tensorflow
After that, I wanted to try to launch it on a Windows laptop with a GPU using CUDA for ML acceleration, then with Mac Mini M1 which uses post-Intel architecture and has a built-in GPU.
Windows gaming laptop
Let’s start with a NVIDIA GPU which is readily available at home, which is why I switched to a Windows 11-based gaming laptop (NVIDIA RTX 3070).
TensorFlow issue and fix
At the time of writing this, it was recommended that we install an older version of TensorFlow.
pip install tensorflow==2.9.2
CUDA DNN issue and fix
CUDA was installed without any issues.
However, I encountered a myriad of issues with the DNN part of the CUDA framework.
I fixed them by downloading the CUDNN package using my NVIDIA Developer account, extracting the cudnn*.dll files, and then copying them to:
C:\Program Files\NVIDIA GPU Computing Toolkit\CUDA\v11.3\bin.
ZLIB issue and fix
Unfortunately, it still did not work and I had to fix an ZLIB DLL issue as well. 
I had to download ZLIB DLL for Windows 64-bit from the official source.
Out of Memory issue and fix
It still refused to work and this time it crashed because of the insufficient VRAM on the GPU. The GPU had 6 GB of RAM which should have been sufficient, but for some reason the script was unable to allocate even 3 GB of that memory.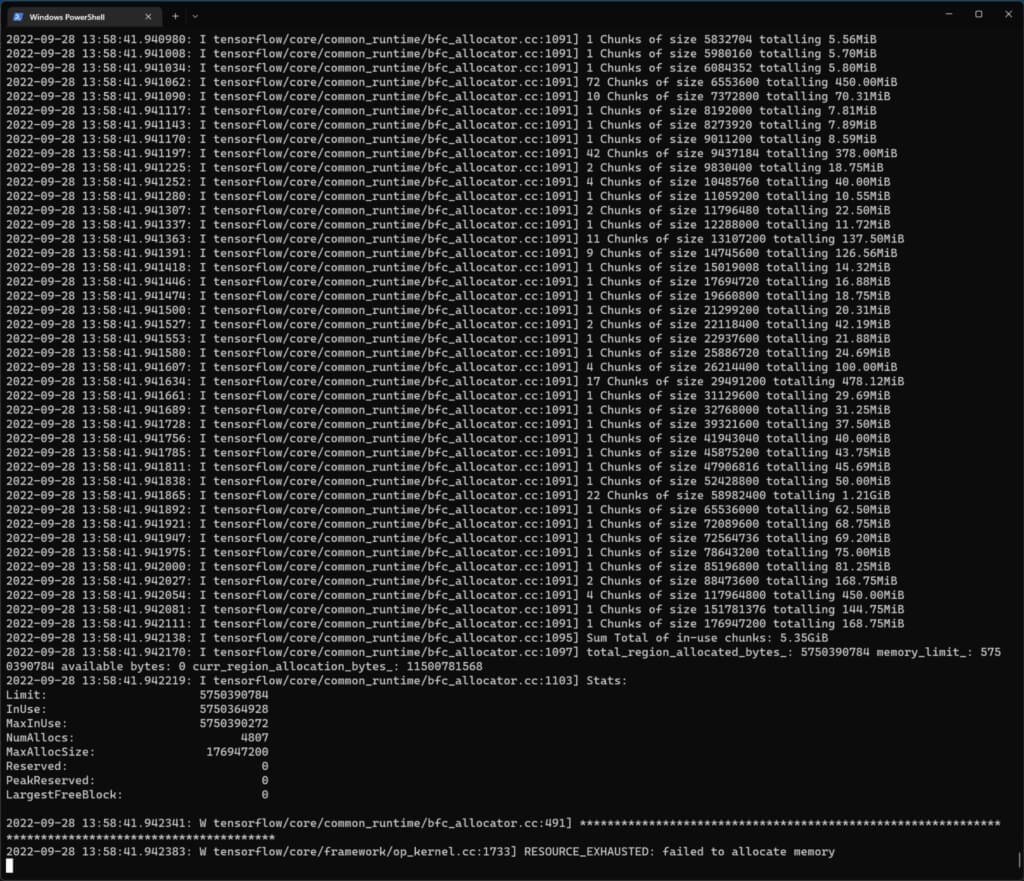
I had to close all the apps using the GPU which included all the web browsers and Visual Studio Code (!). I had to work with just a plain console window.
This moved me back a little bit, but it still refused to work.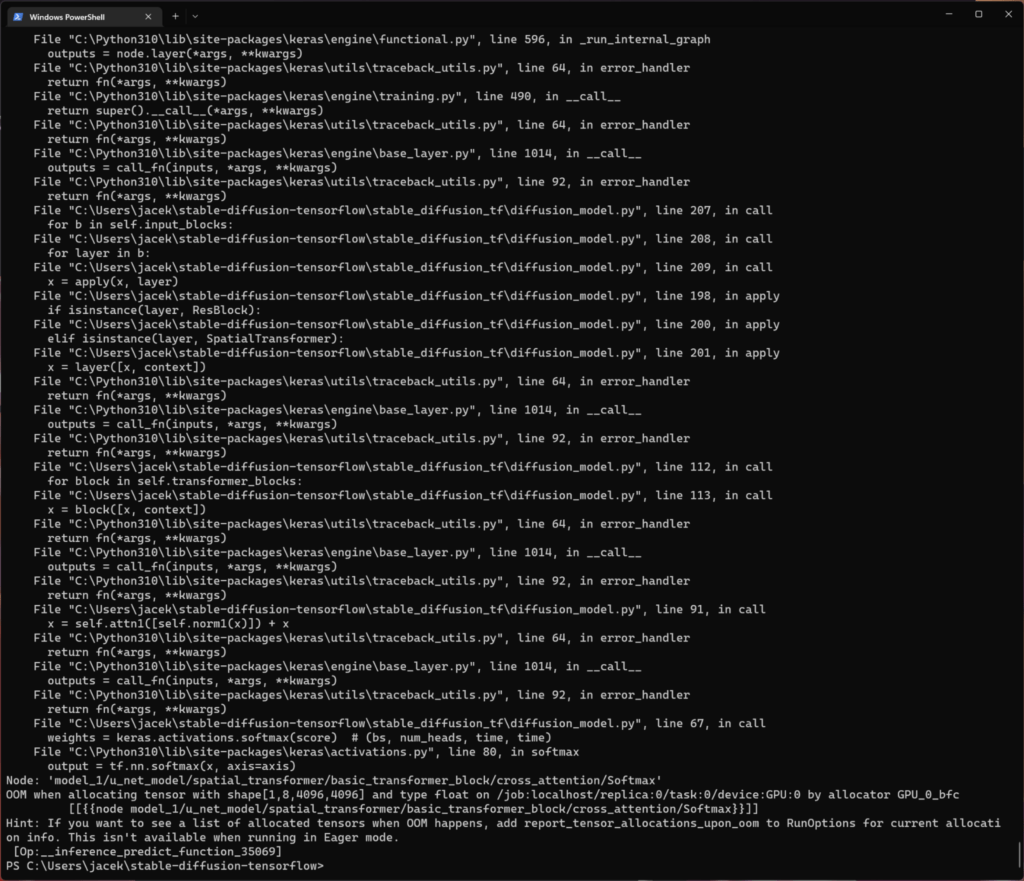 Another idea? I tried to make the generated images smaller than the default (512 pix x 512 pix) size. Using trial and error, I figured out the maximum width of 512 pixels and height of 256 pixels as the:
python text2image.py –W 512 –H 256 –prompt=”Sunset at sea” –output=”sunset_at_sea1.png”
Mac mini M1 (16 GB RAM)
I tried to make it work on my favorite home computer which is a Mac Mini M1 16 GB.
Data science-related workloads used to be a compatibility nightmare, but now almost everything works and even uses built-in Metal APIs for GPU acceleration.
Let’s start this variant of the experiment with a TensorFlow installation.
Miniconda
I needed to install a Miniconda for an M1 edition. I downloaded the .sh version and it worked perfectly for me.
Miniconda — conda documentation
Classic libraries (M1)
I started with upgrading the ML libraries.
pip install numpy –upgrade
pip install pandas –upgrade
pip install matplotlib –upgrade
pip install scikit-learn –upgrade
pip install scipy –upgrade
pip install plotly –upgrade
Tensorflow M1
conda install -c apple tensorflow-deps
pip install tensorflow-macos
pip install tensorflow-metal
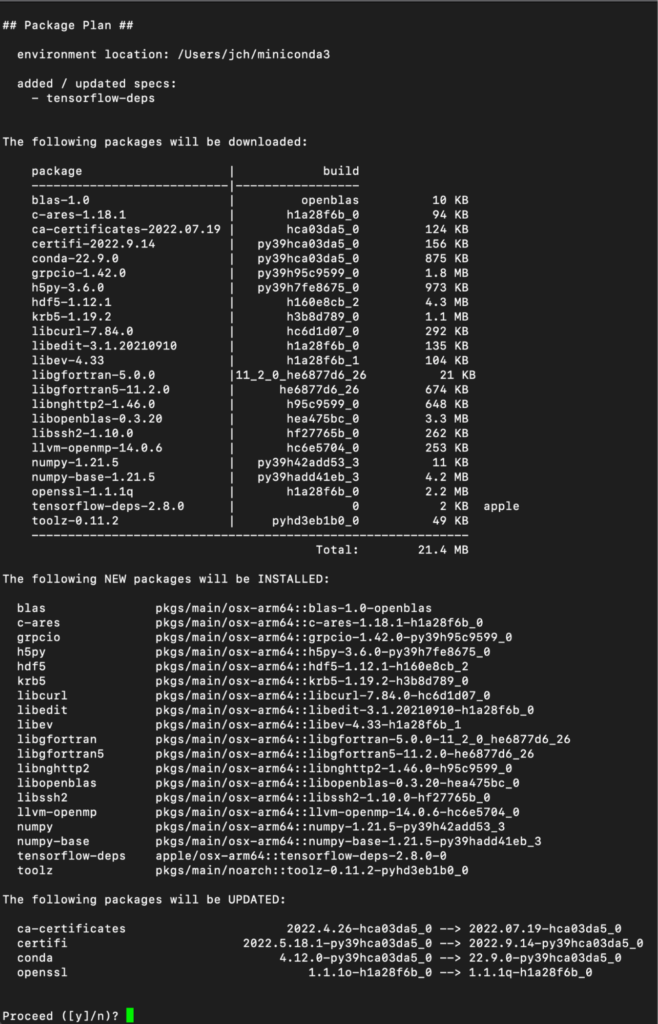
Install requirements specific to M1 architecture
A Stable Diffusion GIT repository contains the version of the requirements file that is specific for a M1 architecture.
Let’s change the directory to the root of the Stable Fusion repository.
pip install -r requirements_m1.txt
Update Python
It… crashed, again and again… The last thing that came to my mind was to upgrade the Python version.
conda install python
And, it finally worked! And, I could stick with a 512×512 image size without resorting to reducing the resolution. So in other words, this was a much faster and easier installation process compared to the Windows laptops with CUDA support.
M1 generated the images in between two and three minutes compared to around thirty seconds on the NVIDIA GPU, which is still acceptable.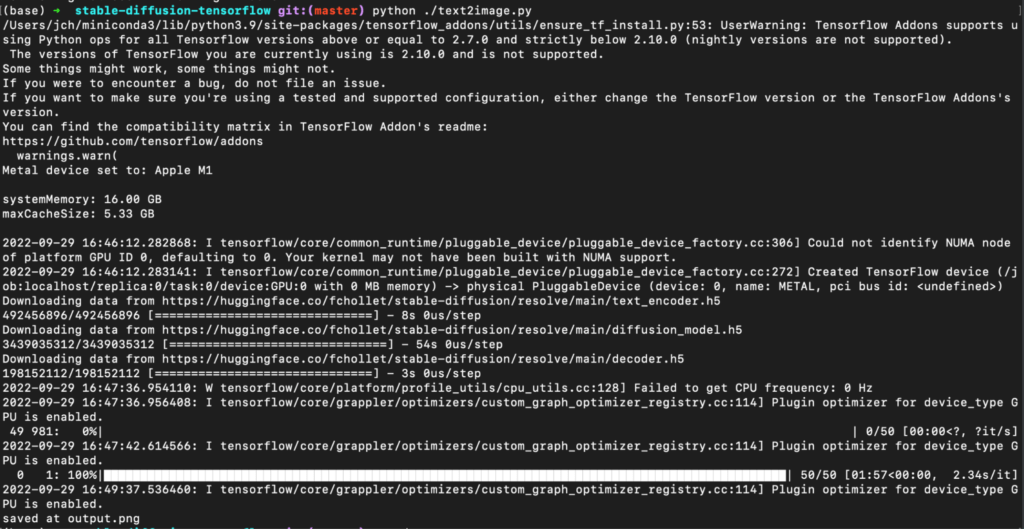 Finally, I could not wait to see the first results! Let me share them with you.
Results
Let’s start with something I know.
Avenga Labs at work
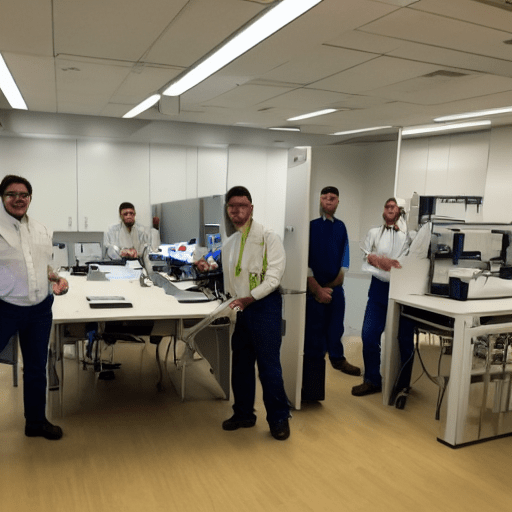
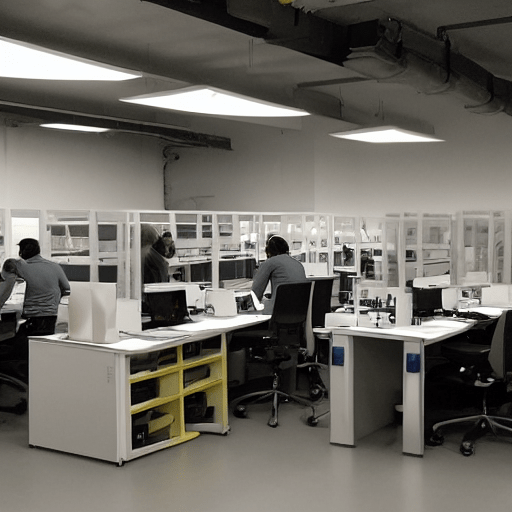
People working at the office in front of their computers. OK, I can live with that as the head of Avenga Labs. The faces are distorted in the picture, unfortunately.
Happy people at the office

They are happy indeed, very ‘body’ positive, and not bothered at all with how their faces look.
Lesson at school
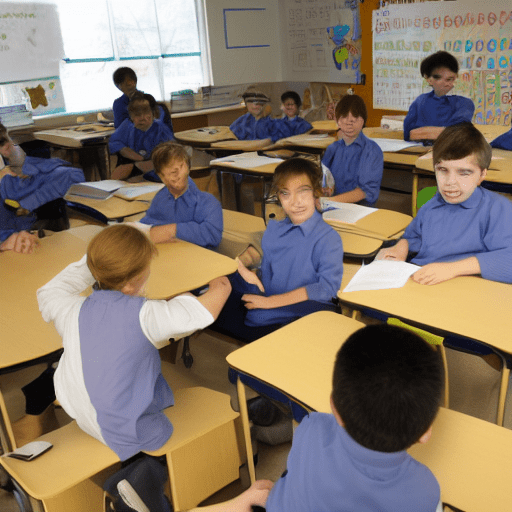
The AI painter fully understood the intent and this does look like a lesson at school. Regrettably, the faces are distorted (again).
Let’s switch to paintings and see how the engine performs as an AI artist.
Elephant on the Moon
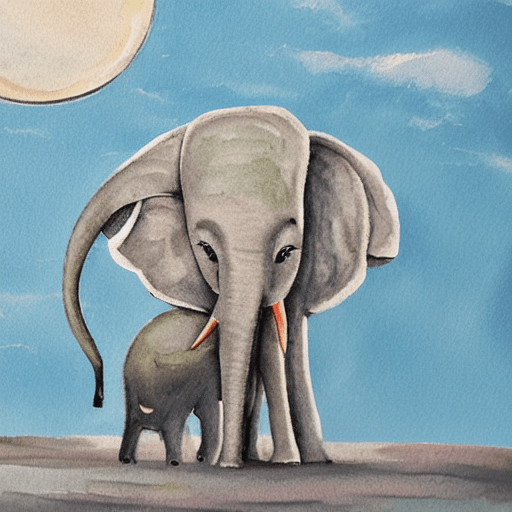
Perfect! Let’s try it again.

Is an elephant on another moon? We did not exclude that possibility.
Painting of the tree made of ice

Excellent!
Abstract painting – noir style

Excellent!
Painting of the future planet Earth
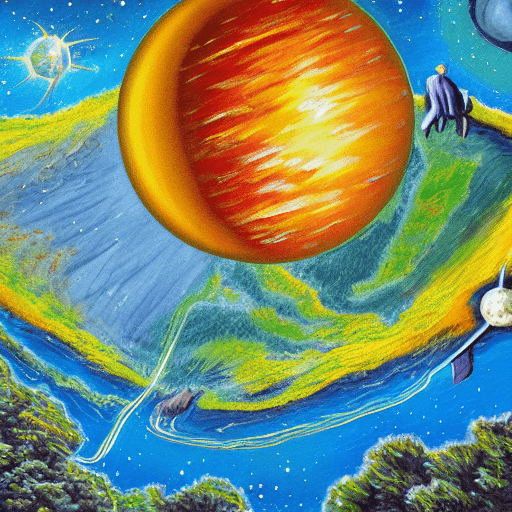
I don’t know what is going to happen with our planet, and neither does the AI. However, I consider this generated image a success.
Painting of the humans shaking hands with a new alien friend from another planet

The humans are represented by two women and the alien friend is single, which is fully in line with the prompt.
The paintings were of much better quality and were more pleasing to the eye than the engines trying to generate pixel-perfect photographic images.
Detailed map of the future city
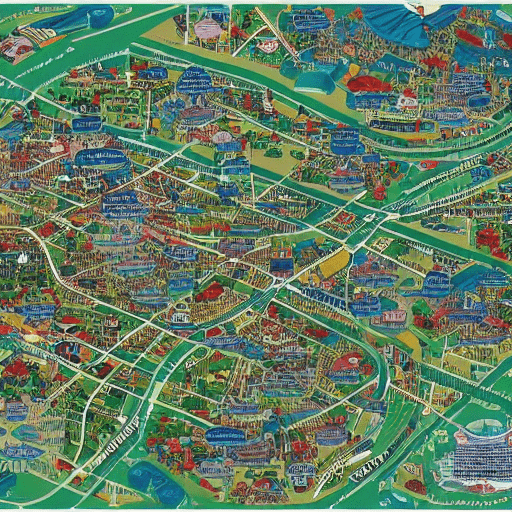
It is a map of a city, but I’ll let you decide if it was a success.
Cityscape Cyberpunk style
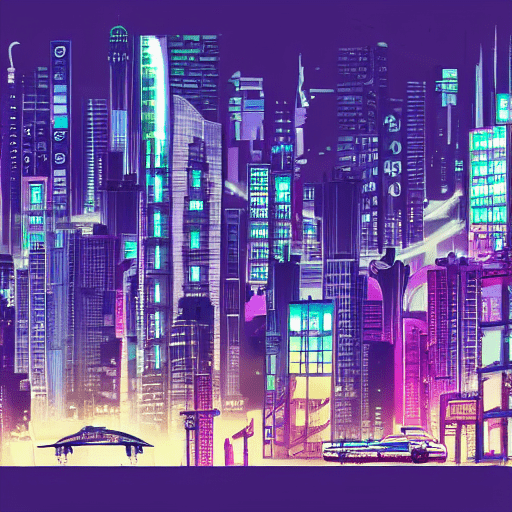
Perfect!
I could go on and on, but let’s wrap it up.
Final words
Business applications
Soon we’ll be able to ask our phones to generate compelling photos of vacations at places we have never visited before in order to share them on social media. Is it good or bad, I don’t want to be a judge of that.
But what’s in it for business? I can think of generating synthetic images for Machine Learning purposes (medical CT images for instance).
The other application I can think of is to generate custom images for marketing purposes. They will be original and unique, and unlike ones downloaded from the internet.
As usual with new technological capabilities, only time will tell which business applications will stay with us and grow.
The problem I see at the moment is its unpredictable behavior, because I had to generate multiple images and pick the best one to share.
Impressions
It’s amazing how AI image generative techniques have progressed. The things that were totally impossible only a few years ago and which required supercomputers with tons of TPUs can now run on relatively small devices, laptops, and even a M1-based Mac Mini.
Everything uses local models, does not access the Internet, requires no cloud services, etc. We could even use an entirely CPU-based generation, but it simply took too long (around 20 minutes per image).
If you have half an hour or two to spare, please give this fantastic model a try. It’s still not there yet, at least when it comes to human faces, but it’s closer than ever to computers painting exactly what we ask them to paint while using only local models.


 Another idea? I tried to make the generated images smaller than the default (512 pix x 512 pix) size. Using trial and error, I figured out the maximum width of 512 pixels and height of 256 pixels as the:

 Finally, I could not wait to see the first results! Let me share them with you.


